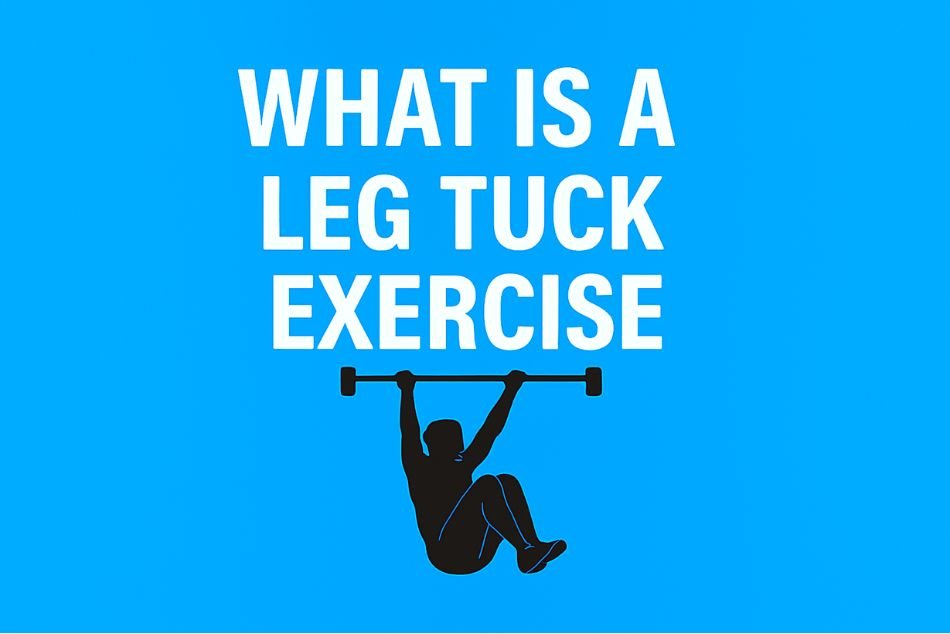
What Is a Leg Tuck Exercise and Why It Should Belong in Your Core Routine
In the ever-evolving world of fitness, core strength has taken center stage—and one movement gaining traction is the leg tuck. So, what is a leg tuck exercise? It’s a functional, compound movement that strengthens your abs, hip flexors, and upper body while enhancing grip strength and body control. Whether you’re training for military fitness tests, building calisthenic skills, or simply want sculpted abs, the leg tuck is a smart and powerful choice.
Let’s break down everything you need to know about this underrated core crusher.
Muscles Targeted by the Leg Tuck Exercise
Leg tucks aren’t just a fancy variation of a crunch. They’re a total-package movement, targeting multiple major muscle groups:
Primary Muscles Worked
- Rectus Abdominis (“six-pack” muscles): Contracting to lift the knees upward.
- Obliques: Stabilize and assist during the lift.
- Hip Flexors: Crucial for driving the knees up toward the chest.
Secondary Muscles Worked
- Forearms & Grip: A hanging leg tuck demands serious grip endurance.
- Shoulders & Lats: Stabilizing your body as you hang.
- Upper Back: Engaged throughout the movement to prevent swinging.
The combination of core, upper body, and grip makes this movement a hybrid of strength and endurance, especially effective for athletes and those pursuing functional fitness.
How to Perform the Leg Tuck Exercise (Step-by-Step Guide)
There are two primary versions of the leg tuck exercise: the hanging leg tuck (advanced) and the floor/seated leg tuck (beginner). Let’s begin with the classic version.
Hanging Leg Tuck Instructions
- Start Position: Grab a pull-up bar with a shoulder-width, overhand grip. Let your body hang fully extended. Engage your core and lats.
- Tuck: Pull your knees toward your chest. Think about curling your spine slightly as you lift.
- Control: Pause briefly at the top, then lower your legs slowly back to the starting position.
- Breathing: Inhale as you lower, exhale as you lift.
Key Form Tips
- Avoid using momentum or swinging your body.
- Keep your shoulders active by slightly depressing the scapula.
- Move slowly for better time under tension.
Floor or Seated Leg Tuck (Beginner Variation)
- Sit on the edge of a bench or the floor.
- Lean slightly back with your hands beside your hips.
- Pull your knees up to your chest while contracting your abdominal muscles.
- Slowly extend legs without letting them touch the ground.
This regression is perfect for building foundational strength before attempting the hanging variation.
Variations and Progressions of the Leg Tuck
The beauty of the leg tuck is in its scalability. Depending on your level, you can regress or intensify the movement:
Beginner Variations
- Knee Raises: Hang and lift knees halfway up.
- Incline Tucks: Use parallel bars or dip bars for a gentler angle.
Intermediate Variations
- Full Hanging Leg Tucks: As described above.
- Scissor Tucks: Alternate one leg at a time.
Advanced Variations
- Toes to Bar: Full extension of legs to touch the bar.
- Weighted Leg Tucks: Hold a medicine ball or light dumbbell between your knees.
- L-Sit Leg Tucks: Performed on parallel bars with legs starting in an L-sit position.
Gradual progressions allow you to build strength without overloading your body too soon. This is key to injury prevention and steady development.
Top 5 Benefits of the Leg Tuck Exercise
If you’re wondering whether to include leg tucks in your training program, here are the undeniable benefits:
1. Core Strength and Definition
Leg tucks target the deep core muscles responsible for spinal stability and midsection control. They’re more challenging than crunches and far more effective.
2. Improved Grip and Arm Strength
Especially in the hanging version, your forearms, wrists, and biceps are constantly engaged.
3. Functional Carryover
This movement mimics real-life scenarios—such as climbing, jumping, and obstacle courses—making it a must-do for functional training.
4. Postural Benefits
Stronger abs = better posture. You’ll notice improvements in your posture and gait.
5. Minimal Equipment Needed
All you need is a sturdy bar, or just your body if you’re doing the floor version.
Whether your goal is athleticism, aesthetics, or endurance, leg tucks deliver.
How to Integrate Leg Tucks Into Your Workout Program
Here’s how to strategically include leg tucks into your weekly routine.
Full-Body Training Day
- Warm-Up: Jump rope, scapular pull-ups, hip openers
- Main Set:
- Pull-ups: 3 sets x 6 reps
- Hanging Leg Tucks: 3 sets x 10-12 reps
- Push-ups: 3 sets x 15 reps
- Finisher: Plank hold + flutter kicks (2 rounds)
Core-Focused Day
- Bicycle crunches: 3 sets x 20
- Leg Tuck (floor): 4 sets x 12
- Hanging Leg Raise: 3 sets x 8
- Russian Twists: 3 sets x 15 (each side)
Upper Body Focus
- Dead hangs: 3 rounds x 30 seconds
- Leg Tucks: 3 sets x max reps
- Dips or incline push-ups: 3 sets x 15
Aim to train this movement 2–3 times per week. Rotate variations and rep ranges for maximum results.
Common Mistakes and How to Fix Them
The leg tuck might seem simple, but it’s often done incorrectly. Here are the top issues and how to fix them:
Mistake #1: Excessive Swinging
Fix: Engage your core before each rep. Focus on slow, controlled movements.
Mistake #2: Poor Grip Strength
Fix: Incorporate grip training (e.g., farmer’s walks, dead hangs).
Mistake #3: Not Fully Tucking
Fix: Think about driving your knees to your chest. Don’t stop halfway.
Mistake #4: Holding Breath
Fix: Exhale during the tuck, inhale during the release.
These corrections will enhance your results and reduce your risk of injury.
Safety Tips for Leg Tuck Exercise
While safe for most individuals, proper form and progressions are critical. Keep these safety considerations in mind:
- Shoulder/Elbow Health: Warm up with shoulder rotations before hanging.
- Core Engagement: Never let your lower back overextend.
- Avoid Overtraining: Give at least 48 hours rest between leg tuck sessions.
- Start Slow: If you can’t do full tucks, master the knee raise first.
Consult a coach or trainer if you’re unsure about your form.
Equipment Needed (and Optional Alternatives)
Basic Requirements
- Pull-up bar (home or gym)
- Parallel bars (for seated or L-sit tucks)
Alternatives
- Suspension Trainers (like TRX)
- Dip Station or even strong tree branches for outdoor workouts
No-Equipment Option
- Use floor leg tucks as a great alternative.
In short, you can do leg tucks nearly anywhere—no excuses.
Final Thoughts: Why the Leg Tuck Should Be in Your Workout Arsenal
So, what is a leg tuck exercise? It’s an efficient, bodyweight movement that strengthens your core, challenges your grip, and enhances functional strength—all without needing a full gym setup. By mastering this single movement and its variations, you’ll develop a resilient core, improve your posture, and achieve performance that carries over into every aspect of life.
Whether you’re new to fitness or a seasoned lifter, the leg tuck exercise deserves a place in your weekly training split. Start simple, stay consistent, and enjoy the gains!
Frequently Asked Questions (FAQs)
Q1: How Many Reps of Leg Tucks Should I Do?
Start with 3 sets of 8–10 reps. Increase reps or add difficulty as you progress.
Q2: Are Leg Tucks Better Than Planks or Crunches?
They target similar muscles, but with added grip and upper-body challenge. Ideally, combine all three for a complete core routine.
Q3: Can Beginners Do Leg Tucks?
Yes—start with seated or floor versions, then move to hanging knee raises.
Q4: Can I Do Leg Tucks Daily?
It’s best to train them 2–3 times a week to allow for muscle recovery.